Custom Embroidery Digitizing Tailored to Your Needs

In today’s world of personalized fashion, custom embroidery digitizing has become an essential service for businesses, brands, and individuals looking to create unique embroidered designs. Whether you need logos, monograms, patches, or intricate artwork, the right digitizing process ensures flawless, machine-ready embroidery files.
In this guide, we'll explore what custom embroidery digitizing is, how it works, and expert tips to achieve perfect results tailored to your needs.
What is Custom Embroidery Digitizing?
Custom embroidery digitizing is the process of converting a design, logo, or artwork into a machine-readable embroidery file. This file guides the embroidery machine on stitch types, thread paths, and stitch density to create an accurate, high-quality embroidered piece.
Why is Custom Digitizing Important?
✅ Precision & Accuracy – Ensures every detail of your design is accurately embroidered.
✅ Machine Compatibility – Converts your design into formats like DST, PES, EXP, JEF, and VP3.
✅ Optimized Stitching – Reduces thread breaks, unnecessary stitches, and production time.
✅ Tailored to Fabric & Thread Types – Adjusted settings for cotton, denim, caps, jackets, and more.
How Custom Embroidery Digitizing Works
Step 1: Understanding the Design & Requirements
Evaluate complexity – Logos with gradients or small details need adjustments.
Select the right fabric – Different fabrics require different stitch settings.
Choose thread colors & thickness – Match the brand or design specifications.
Step 2: Using Professional Digitizing Software
Popular software includes:
- Wilcom Embroidery Studio – Best for advanced custom digitizing.
- Hatch Embroidery – User-friendly with powerful customization options.
- Pulse DG16 – Ideal for commercial embroidery businesses.
- Embird – Great for beginners and small businesses.
Step 3: Selecting Stitch Types
The right stitch type enhances the final embroidery quality:
- Satin Stitch – Best for letters, borders, and small details.
- Fill Stitch (Tatami Stitch) – Used for large, solid areas.
- Run Stitch – Ideal for thin outlines and fine details.
Step 4: Adjusting Stitch Density & Underlay
- Stitch Density – Determines stitch spacing to avoid bulky or loose embroidery.
- Underlay Stitches – Provides a stable base for embroidery, preventing fabric puckering.
Step 5: Test Run & Quality Assurance
- Run test embroidery on a sample fabric before full production.
- Adjust pull compensation to prevent design distortion.
- Ensure clean edges, no thread breaks, and smooth stitching.
Custom Embroidery Digitizing for Different Applications
Business Logos & Branding – Custom embroidery helps businesses create professional, embroidered logos on uniforms, caps, and promotional items.
Personalized Gifts & Monograms – Add custom monograms to towels, robes, and bags.
Sportswear & Team Apparel – Perfect for jerseys, varsity jackets, and caps.
Patches & Badges – High-quality embroidered patches for military, schools, and organizations.
Fashion & Custom Apparel – Unique embroidery designs for fashion brands.
Best Practices for High-Quality Custom Embroidery Digitizing
- Use the right stitch type for different elements of your design.
- Balance stitch density to prevent fabric puckering or thread breaks.
- Select high-quality thread (polyester or rayon) for long-lasting embroidery.
- Ensure proper underlay stitching for smooth embroidery on different fabrics.
- Test before production to refine digitizing settings and avoid errors.
Common Mistakes & How to Avoid Them
- Using too many small details – Convert intricate elements into simplified embroidery-friendly designs.
- Ignoring fabric type – Adjust stitch settings based on fabric stretch, thickness, and texture.
- Incorrect stitch density – Too high can make embroidery stiff; too low can cause gaps.
- Skipping underlay stitches – Leads to distorted designs and loose stitching.
- Not testing before production – Always run test embroidery before finalizing.
Frequently Asked Questions (FAQs)
1. What is the best file format for embroidery machines?
Common embroidery formats include DST, PES, EXP, JEF, and VP3, depending on the machine.
2. How long does custom embroidery digitizing take?
It depends on the design complexity. A simple logo takes 30 minutes to an hour, while detailed artwork may take several hours.
3. Can I convert an image (JPEG/PNG) into an embroidery file?
Yes, but it requires manual digitizing to convert it into a stitch-friendly format.
4. What’s the cost of custom embroidery digitizing?
Pricing varies based on design complexity and stitch count. At True Digitizing, we offer affordable, high-quality digitizing with no upfront payment.
5. Can I make adjustments after digitizing?
Yes! At True Digitizing, we provide free revisions to ensure your design is perfect.
Conclusion
Custom embroidery digitizing is an essential process for creating high-quality, machine-ready embroidery files. Whether you're a business owner, fashion brand, or individual, ensuring that your designs are digitized correctly will lead to flawless embroidery results.
At True Digitizing, we offer:
✅ No upfront payment
✅ 2-6 hour turnaround time
✅ Free revisions & format conversions
✅ High-quality, expert digitizing services
📌 Need a custom embroidery digitizing service tailored to your needs? Contact us today!
Κατηγορίες
Διαβάζω περισσότερα
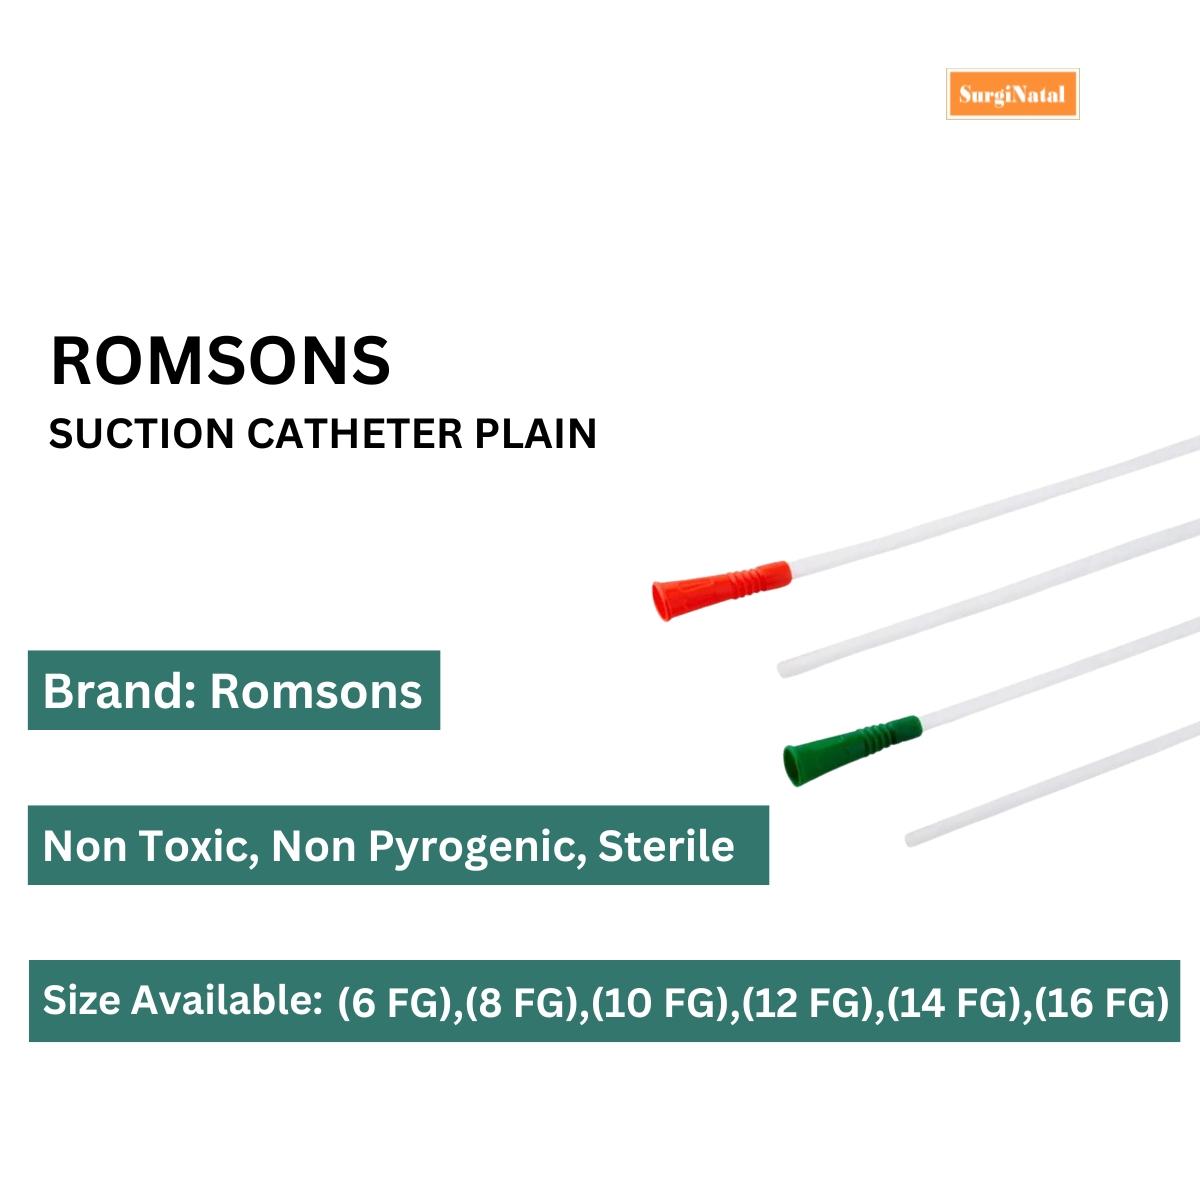
When it comes to providing the best care for patients, especially those requiring intensive medical attention, the right medical equipment is crucial. The Romsons Suction Catheter Plain (GS-2006) is an indispensable tool in critical care settings such as ICU care and tracheostomy care. This suction catheter is designed to support the safe and effective removal of secretions from the airways,...
In the ever-evolving world of online gaming, staying ahead of the competition requires an in-depth understanding of the platforms you use. Winbuzz has established itself as a premier online gaming platform, offering a wide range of features designed to enhance the user experience. This guide will delve into the key features of Winbuzz Game, including its gaming options, user interface, and...

At NYK Law Firm, our experienced Construction Dispute lawyer Dubai provide comprehensive legal services in construction law, including contractor disputes, building contracts, and construction litigation. We ensure compliance with UAE construction regulations and protect your interests in all projects. We specialize in construction law, offering expert guidance in contractor disputes,...

Book Ranchi to Deoghar cab online at best price. CabBazar provides car rental services for all cab types AC, Non AC, Hatchback, SUV, Sedan, Innova and Tempo Traveller. Both One way taxi and round trip cab available at lowest price. Price starts Rs. 9/Km.
تقرير فني غير فوري هو تقرير يتم إعداده لتحليل أو تقييم حالة أو نشاط فني معين، ولكنه لا يتطلب اتخاذ قرارات أو إجراءات فورية. يُعد هذا النوع من التقارير أداة مفيدة لتوثيق وتحليل الأمور الفنية بشكل دقيق ومنظم، بحيث يمكن الرجوع إليها في وقت لاحق عند الحاجة. أهمية التقرير الفني غير الفوري: توثيق البيانات: يساعد في توثيق المعلومات الفنية بشكل منظم، مما يتيح للمسؤولين أو الفريق المعني العودة إليها...